Hardwood floors provide a shiny and finished look if you coated it well. Polyurethane is the liquid which is used to serve this purpose. You can use water based or oil based polyurethane to make your wooden surface glow.
Moreover, polyurethane keeps your wood protected from scratch or unwanted marks. It also helps to keep the moisture of the wood so that the wood remains in good condition for several years.
You can easily apply this finish on your home’s wooden floor by following some simple steps with patience. To assist you throughout the whole process I have written a guide about how to apply oil based polyurethane to wood floors.
You can also read my article about applying water-based polyurethane here.
Steps to Apply Oil-Based Polyurethane on Wood Floors
Oil based polyurethane takes more time to dry but it works exceedingly well in bringing back the new look of the wooden deck. Applying oil based polyurethane is not a difficult task and you will make lesser mistakes if you follow the following technique carefully focusing on every detail. Let’s start…
Things Needed
- Oil based polyurethane
- Roller pad or applicator for polyurethane
- Mixing stick
- White vinegar
- Natural bristle brush
- Face mask
- 80 & 220-grit sandpaper
- Hand gloves
- Vacuum
- Sander machine
- Container
- Cutting pad
- Clean microfiber rug and a lint-free rag
Step 01: Sanding
A wood floor needs sanding before coating and it does not matter whether it has a finish on it or not. Sanding prepares the floor for final finishing. To sand a wooden surface you can rent or purchase a floor sander. It is a good practice following the sander manufacturer’s guide for proper sanding.
Sand down your home floor to the bare wood if you want to alter the color of the floor or fix the completely worn out areas. However, you should screen and re-coat the floor if the existing finish is in fine state, without any worn out or pilled areas.
Carefully sand the floor with the sanding machine considering the actual condition of your floor. It will take 20-30 minutes for a medium-sized room’s floor.
Step 02: Cleaning dust
This is an important step in the whole process. Remember, dust or other dust-type particles can stay on the oil-based polyurethane surface. As a result, you will fail to manage a smooth topcoat.
After performing the sanding, carefully vacuum the wooden surface thoroughly with a vacuum appliance fashioned for wood floors.
After that, mop the floor top with a lint-free rag or microfiber cloth. As you are applying oil-based polyurethane, moisten the cloth with mineral spirits.
Finally, clean all the dust off the edges and corners of the room using the same cloth. Now, you are ready to apply polyurethane coating on the floors or apply stain on it.
Step 03: Preparing liquid
Take a big can and pour all the polyurethane on it. It will help all the liquid to mix perfectly. You should stir this liquid using a painting stick. Stirring will help you to get rid of air bubbles created inside the liquid. You need to stir again if you want to use the same liquid tomorrow again.
Make sure the container can is big enough to carry a sufficient amount of liquid and wide enough to insert the applicator effortlessly.
Step 04: Take care of the edges
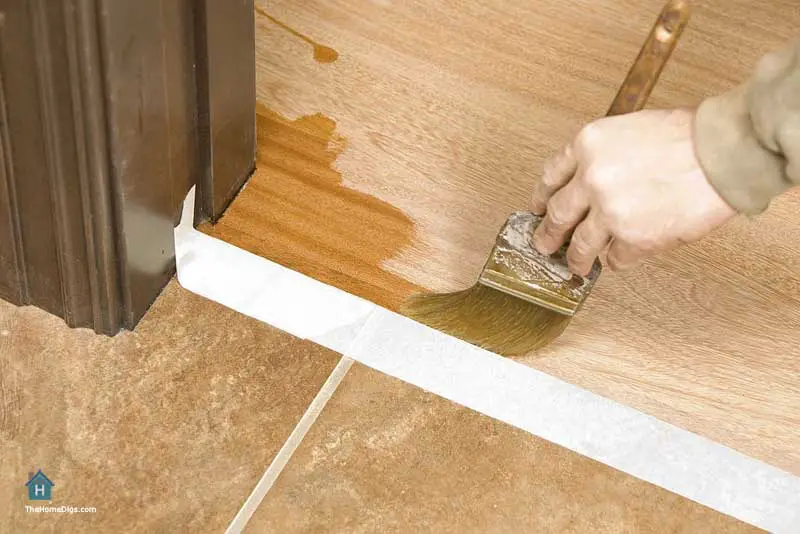
Now, it’s time to start coating and you need to secure the corners first. To do so, use a bristle brush and gently merge it into the polyurethane liquid. Now, coat all edges of the room. You can also use cutting pads to perform this operation.

Step 05: First coat
When you going to do the first coating on the floor, you might want to know what is the best way to apply oil based polyurethane?
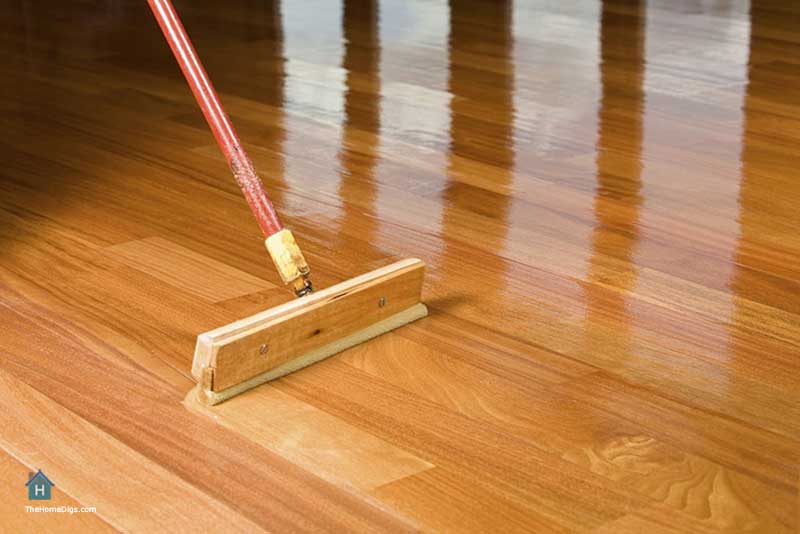
Well, the answer is simple but it depends on you. If you are not in hurry and love to work for a long time then you should use a paintbrush to apply the first coat but a roller with a long handle can be the best option for large hall rooms. Moreover, you can successfully apply polyurethane to wood floors without bubbles using a long handle roller.
Additionally, applying polyurethane to floors with lambswool is also a good option. Just insert the applicator into the polyurethane can and start coating the wooden surface. Or, use the bristle brush to provide a thin coat on the flat surface. Start coating at the far side of the room and slowly reach the doorway.
Step 06: Drying
After the first coat, let the oil-based liquid dry. Make sure that no dust or water droplet enters the room. Also, keep your dogs and cats away from the room.
Remember, you should allow the polyurethane finish to dry 5-8 hours. Additionally, less than 12 hours of drying time is ideal if you do not want to sand between coats. However, by letting the liquid dry for more than 12 hours requires sanding. So, use a 220 grit sandpaper to do this task.
Step 07: Second coat
Before giving the second coat, you need to use white vinegar on a clean cloth for wiping the whole room. It will help to clean the surface before adding another layer. You can also use a vacuum machine to clean dust. After doing proper sanding and cleaning, add second coating following method of the first coating and allow it dry for another 5-8 hours.
Step 08: Final coat
Now it’s time to do the final coating and finish the whole process. But, if you are applying Polyurethane over stain you don’t need to add the third coat. In that case, only 2 coats are enough. If no stain is used then it is recommended to apply a third and final coat.
Apply the third coating just like you have applied the second or first coating and let the liquid dry for another 5-8 hours.

TIPS AND SAFETY MEASURES
- Always wear gloves, mask and eyeglass while preparing the polyurethane liquid and at the time of applying all three coats.
- Keep the room well ventilated.
- Keep this liquid away from children.
- Also, keep it away from fire. If you are coating your kitchen’s floor make sure that the gas stove is turned off at the time of coating.
- You don’t need to coat quickly. It is better to do coating job at a normal speed.
- Never apply an excessive amount of polyurethane liquid on a small place to get more shine. It doesn’t work like this.
- You can use water based polyurethane if you want the liquid to dry within 3 or 4 hours.
Conclusion
Polyurethane wood finish makes your hardwood floors durable as well as water resistance. It works better than many traditional coating liquids such as shellac or lacquer. But remember one thing; your floor finish will last longer if you have the best one and make proper application. So, when you buy polyurethane, choose the best polyurethane for your wood floor wisely which is available in the market.
Learning how to apply oil based polyurethane to hardwood floors can enhance the beauty of the home while guarding the face of floors from unwanted marks, scratches and other imperfections. Don’t forget to share with us how do you apply oil based polyurethane to hardwood floors of your lovely home and contact us if you find any problems or difficulties.
This is Autem Decker. Main Author of ‘TheHomeDigs‘. You may not find her on the list of top 10 contemporary Canadian interior designers, but everyone who knows her says she was born to be an interior designer.
She makes her plan in her head and draws them in her years-old diary with a note in the corner. The way she plays with color and shape amazes us.
Connect Her On – Twitter