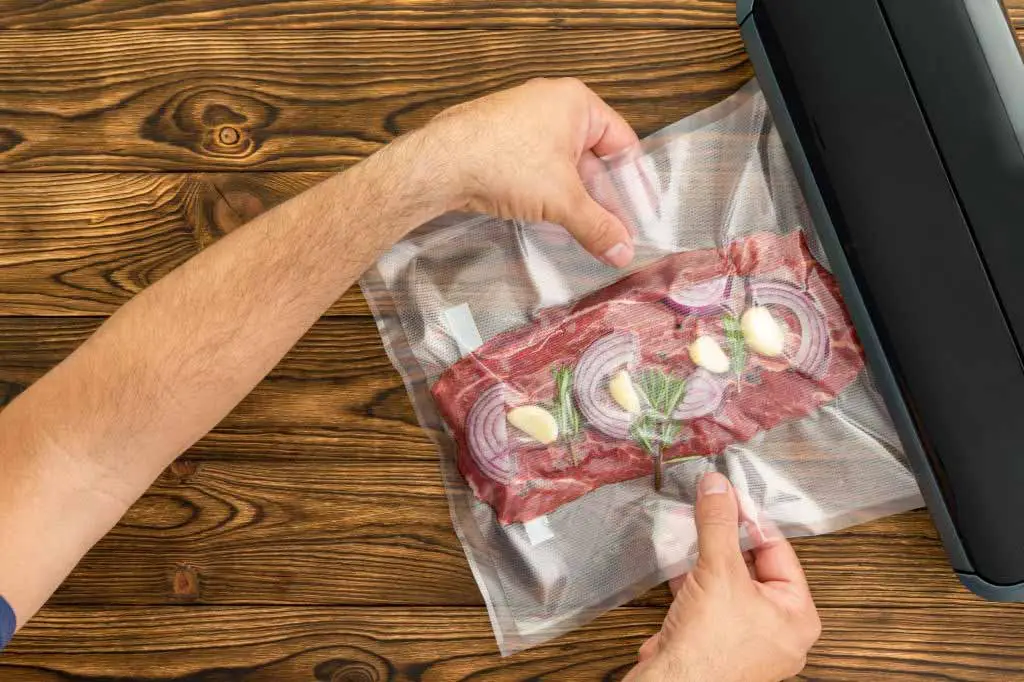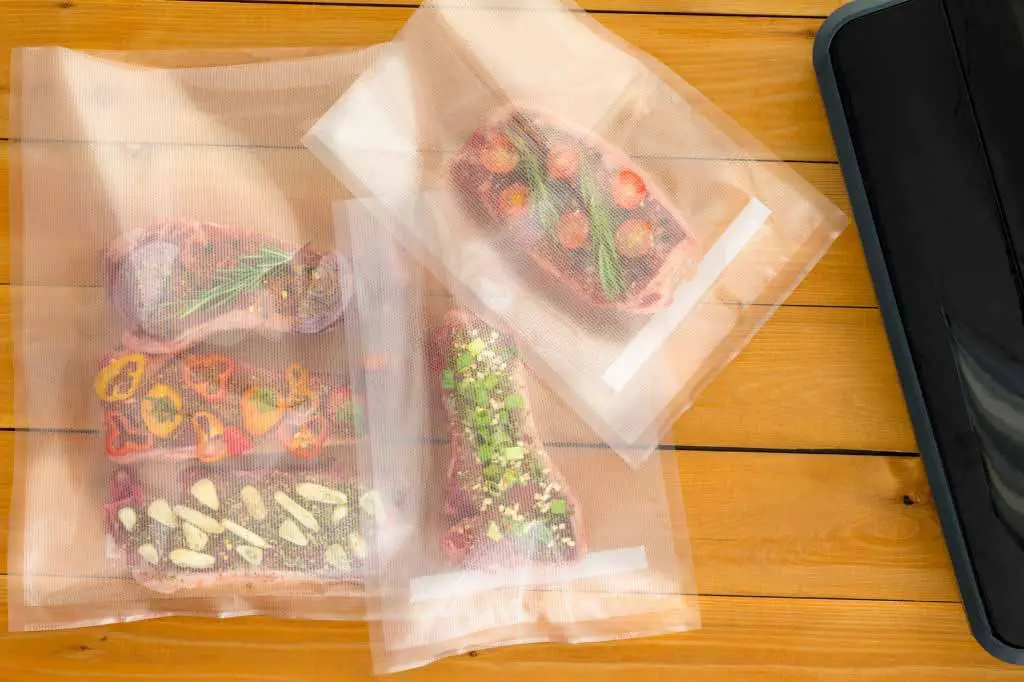
As a peek devotee of freshness agenda, I believe that a vacuum sealer is one of the greatest things that got invented after fridge. It’s interesting how today we don’t need to worry much about keeping food items and liquid preserved for the whole month, thanks to these inventions. A vacuum sealer is a stuff that helps to get rid of the air inside storing bag to seal food items and liquids properly for preservation.
Let’s know how to use a vacuum sealer machine for that purpose.
How to Use a Vacuum Sealer Machine for Solid & Liquid Foods
Here’s the whole process that you need to follow for vacuum-sealing various food ingredients.
Get the Vacuum Bags
For the whole sealing purpose, you first need some good quality vacuum bags. These bags are usually compatible with microwaving. So, you can simply thaw any portion depending on your need. Just make sure you don’t reuse these bags when used for raw fish or meat. Some do provide dishwasher-safe features. But still, there’s less chance of getting a thorough clean for next use.
Also, the particular vacuum sealer you have will work with a specific type of bag. So, there’s no way you can use any regular bag as wished. Instead, make sure it goes well with the machine you own. Usually, your vacuum sealer model will come with the recommended bag information.
You can also try the oxygen absorber bags that come with non-toxic iron powder. These will get rid of any excess oxygen making way for better preservation and storing the whole freshness.
For the Solid Food Items
The vacuum sealer can guarantee your food to stay fresh five times better than without using it. and so, it’s surely revolutionary. However, there’s less chance of keeping the freshness alive without including refrigerator. So, you must use the freezer for long time preservation.
Once you are done buying local market’s whole bird or simply chicken thigh tray from the warehouse, think about freezing instantly. Especially the stuff that you won’t be using right away. Minced pork and sizable salmon pieces are included for this concern. The bigger size means better results.
Also, for solid items that need all gas and liquid extraction when inserted into the vacuum bag, a bar sealer works better. It’s one of the two main types of vacuum sealer machine. Dry items are better to use in bar sealers since otherwise there’s a chance of damaging with over-drying.
In case you are vacuum sealing sharp edges included items for example bony meats or dried pasta, do one thing. First, warp them with soft wrapper such as a paper kitchen towel. Now go carry on with this process and sharp edges will cause no harm to the bag.

For the Liquid Items
Now if the case is with items that are liquid, things are a bit different. In this situation, you must be handling items such as soups and sauces. And so, you need to first freeze the liquid and then think about sealing inside a bag.
This is because your vacuum sealer machine may end up sucking liquid along with the air inside. And that’s surely causing a huge mess you don’t want to deal with. Sometimes the machine falls under a dangerous situation as well.
Usually, chamber vacuums work better in this situation. These versions will not mess with liquid and only suck out air inside the bag. It uses compression and created air to seal bags better rather than directly sealing.
No Overfilled Bags Please!
It does not matter what items you want to toss inside the vacuum bag, make sure to leave some extra space. It’s not a good idea to overfill these bags since this may cause improper sealing by the machine later.
You want to spare at least 4 inches of space at the bag’s top portion. And that will help in the sealing process highly. In fact, whenever first sealing try fails this space is going to help in the next attempt.
Less Wrinkled bag is Better
Before making a seal, you want to smoothen the bag as much as possible. Use your hand to go over the bags with a little pressure for a few times. A wrinkled bag will be easy to create air pockets inside the seal. And that’s going to prevent the air tightness you want inside a vacuum bag.
Seal it One or Two Times
Your bag is ready to get sealed. Now if your first try does not work then one common mistake that people do is open the seal and repeat. Sometimes they change the bag and seal items once again.
This is time killing and also wastes a bag. If you followed my previous instructions and spared those recommended four inches, just go for a double seal. No need to open previous seal, just go for next one and the bag should be sealed without any problem.
If you are trying to seal a package of chips, cut the bag a bit. And then the crispness should stay same once you are done sealing it.
Clean the Machine to Store It for Next Use
Since you are going to use the sealer for raw and various other sorts of food items, it’s probably going to meet a lot of mess. And so, if you don’t want to lose the machine quickly due to that rough process, make sure to clean it after using.
Simply use a damp cloth and wipe it nicely. You want to clean the drip tray as well. Traces of food might be trapped inside the sealing bar. Make sure you clean the sealing strip to not get a hamper in next process.

Conclusion
And that was the whole process of how to use a vacuum sealer machine neatly and smartly. You should not miss the final part of cleanup. Especially when you are using the sealer on a regular basis.
Also, make sure you use the machine for every food item that needs to stick with its original freshness. Your family will love the extra effort during their mealtime!
This is Autem Decker. Main Author of ‘TheHomeDigs‘. You may not find her on the list of top 10 contemporary Canadian interior designers, but everyone who knows her says she was born to be an interior designer.
She makes her plan in her head and draws them in her years-old diary with a note in the corner. The way she plays with color and shape amazes us.
Connect Her On – Twitter